Process of figure creation
Inspiration
Artist's doll
Materials
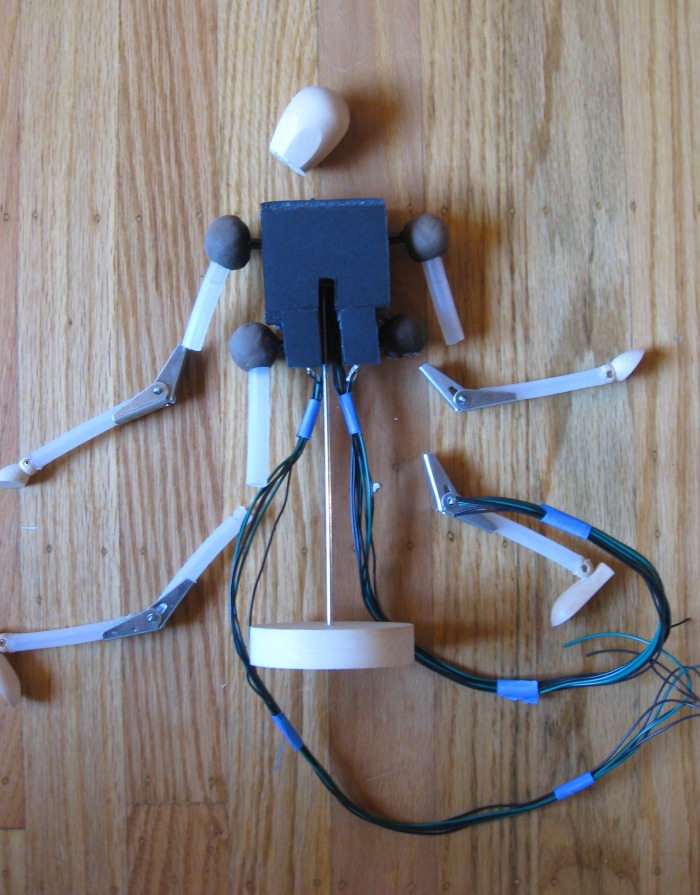
1st iteration: foamcore, tubing, sculpey, remnants of artists doll, bend sensors, potentiometers, arduino boards, Flash
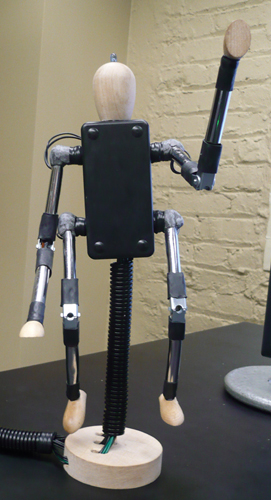
2nd iteration: project enclosure box, bend sensors, potentiometers, remnants of artists doll, apoxy, copper tubing, wiimote, small plush toy dog.
Click on a picture below to see a larger image.
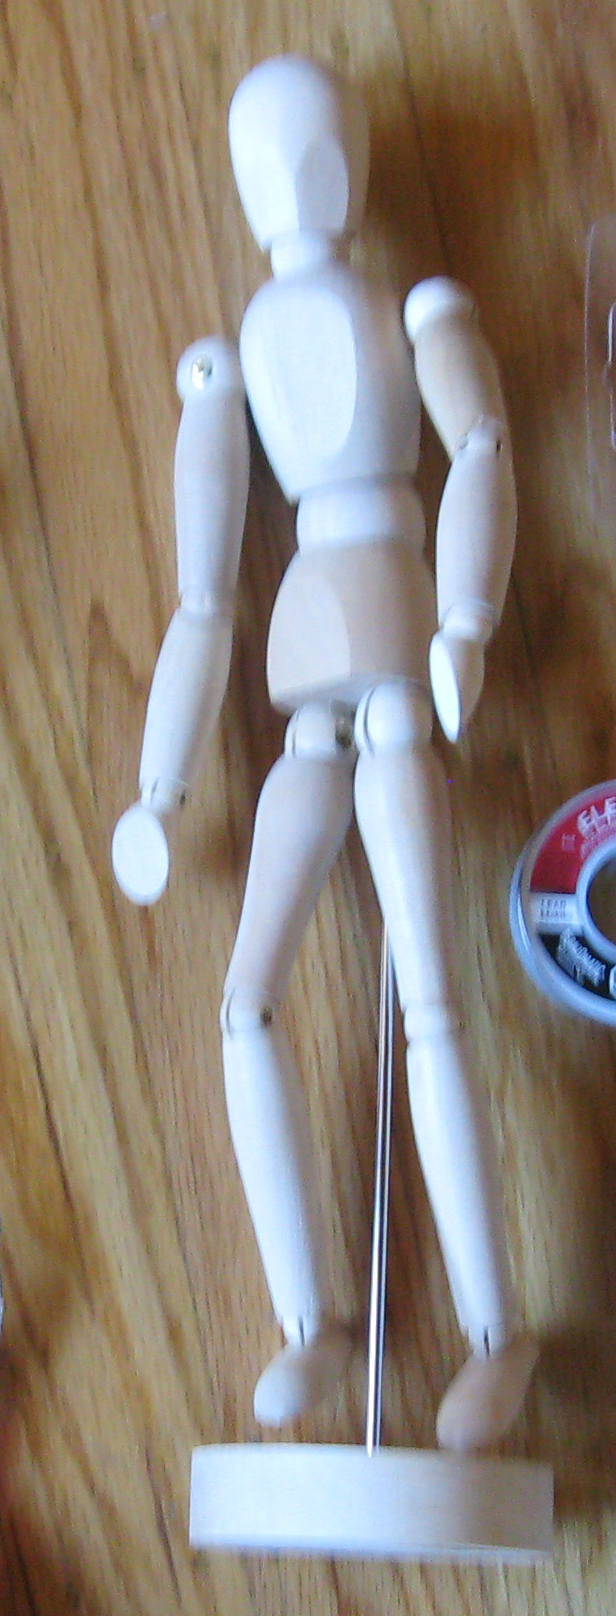

It all came together when it broke.
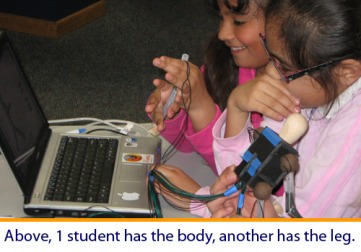
When we first tested the augmented figure (2nd picture), the kids who tested it got so involved that it one of the legs fell off! After we assured them it was ok that it broke, they let loose their creativity and started man-handling it - as any kid would normally do!
This led us to believe that because the character looked flimsy (light, clear piping) the kids were reserved. Therefore, it was important for the final iteration to use heavier, more robust-looking materials.
Process of program creation
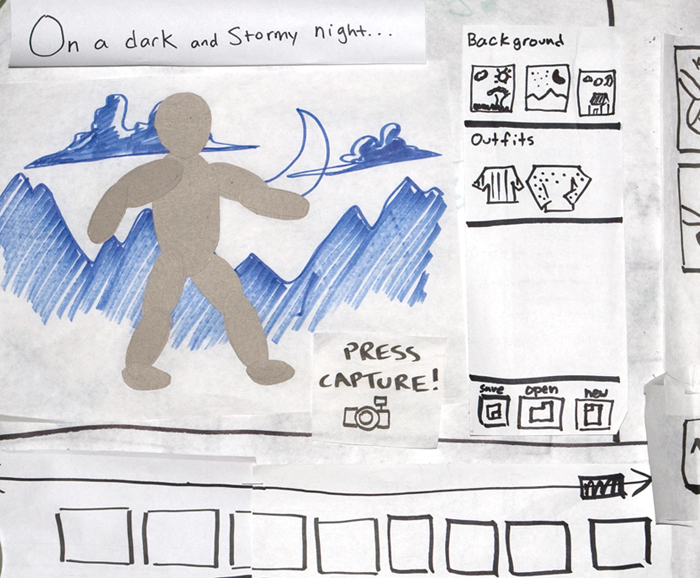
Paper Prototype
Stayed after testing: general flow, concept of "capturing," props/costumes/setting, onscreen figure, the Tutorial mode and the Free Play mode
Cut after testing: Storyline generators, the Game mode, hand/feet/head movement
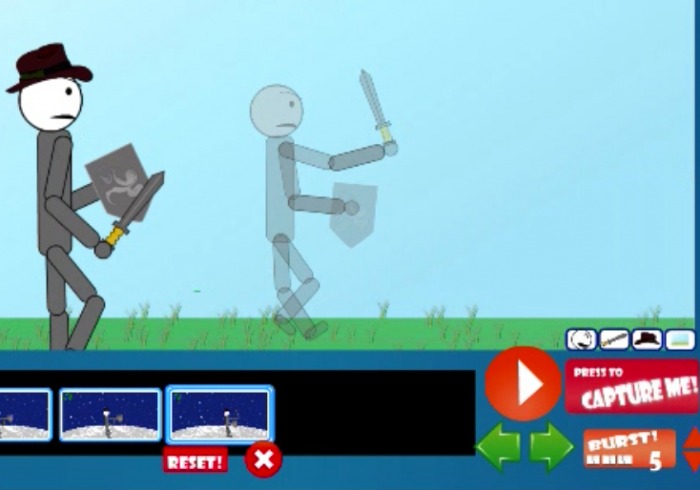
First Functioning Prototype
Stayed after testing: Use of term "capture," general digital and figure representations
Cut after testing: Use of sculpey, transparent pipes, ability to make the figure perpendicular to the stand
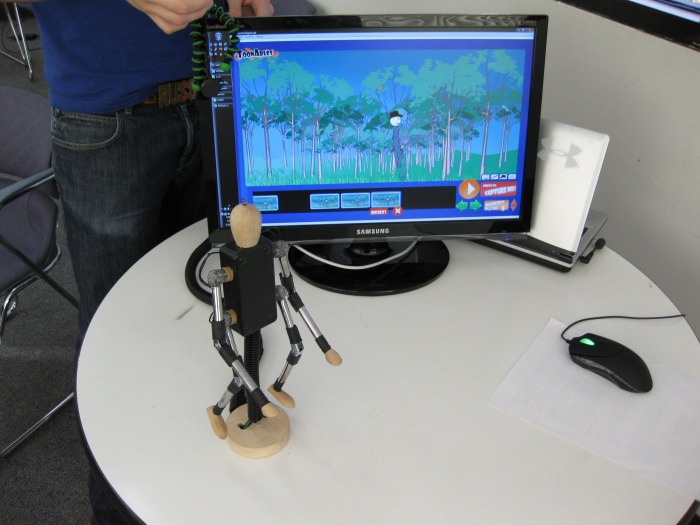
Second Functioning Prototype
Stayed after testing: Figure materials, general navigation and look of program
Changed after testing: Placement of navigation arrows, "reset" became "Start Over"
Added after testing: Lower threshold for Wiimote sensor (x&y axis), small dog companion for multiplayer possibilities
Click on a picture below to a larger version.