Welcome to the BNet "Quickstart" Tutorial.
Here, we'll teach you how to install ButterflyNet.
First, download this ZIP File.

Unzip it and place the BNet folder in your
Program Files folder. The easiest way to do this is to
right-click the zip file and choose Extract All...
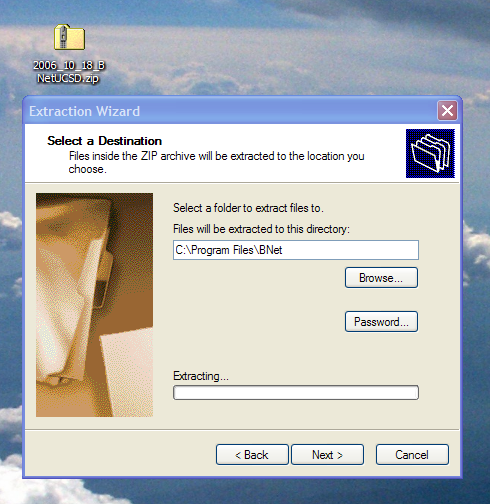
In C:\Program Files\BNet, you will find two folders.
Navigate to ButterflyNet\install. There are four steps
to complete the installation.
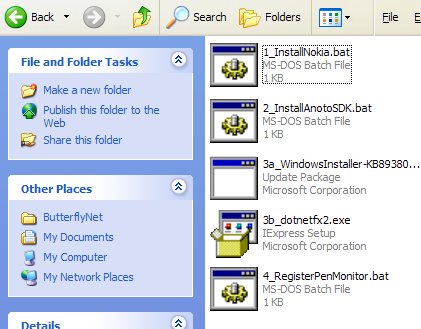
Run the Installers located in BNet\ButterflyNet\install.
The first one installs the Nokia Software.
The second installs the Anoto software.
The third (a & b) installs the .NET framework 2.0.
The fourth one registers the pen monitor so that
ButterflyNet can download notes from your pen.
The fourth script will ask you to apply some settings to your Windows Registry. Click OK.

After you run these setup scripts, do not rename
or move
the BNet folder. If you do, you must rerun
setup script #4 (RegisterPenMonitor).
Create a shortcut to ButterflyNet.exe and place it
on your Desktop or in your Start Menu.
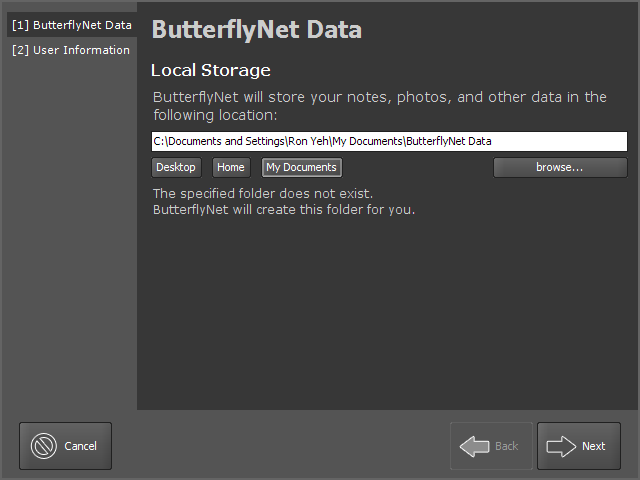
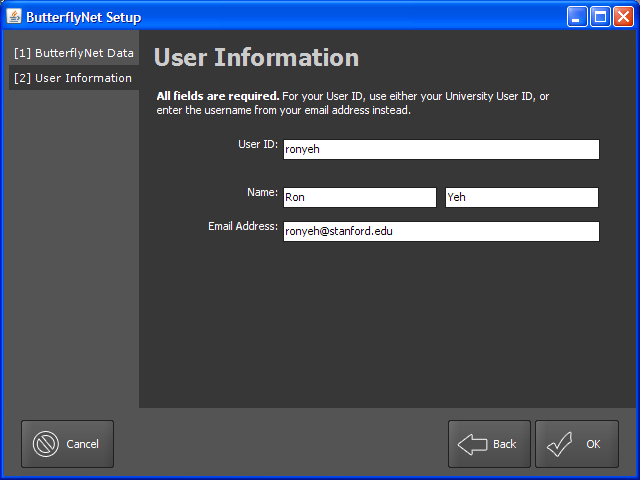
Run ButterflyNet. Follow the two-step
Wizard to enter your information.
After you click OK, BNet loads... (it might take a while).

Write something simple (like 'hello') on your notebook.
Drop it into the cradle. A popup lets you know that
ButterflyNet is reading your pen data.
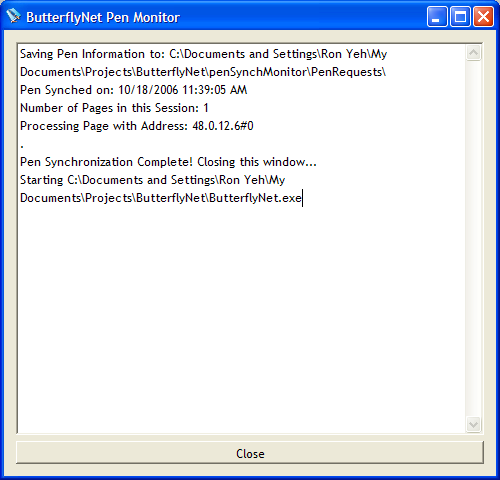
Your pen's clock is now synchronized.
Writing something simple and synchronizing the
pen's clock is necessary whenever you hard-reset
the Pen, or if you purchased a new Pen.
In general, you only need to do this once.
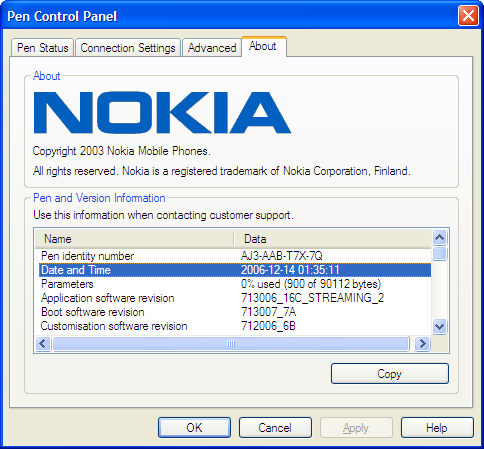
To check your Pen's time, double-click the Nokia tray icon in your Windows system tray.
![]()
In the About tab, you can check the pen's clock.
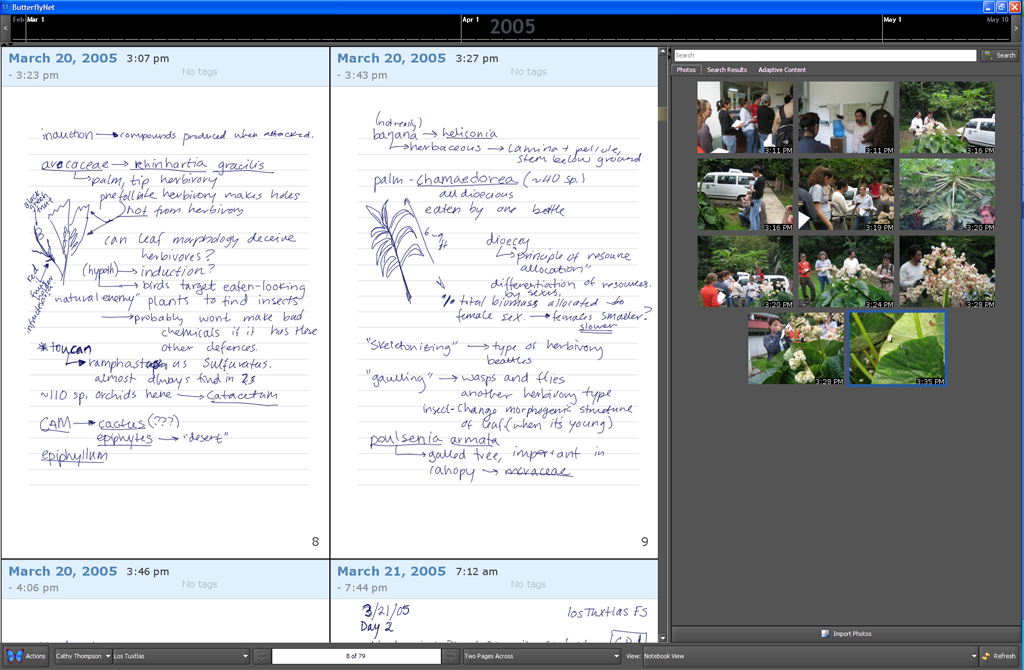
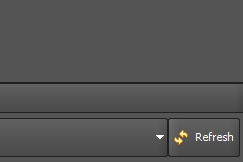
Currently, you need to hit the Refresh button to load the
notes into BNet. This will hopefully be automatic in future versions.
Your notes should appear in the main panel.
To import images, use the Import Photos button and select a set of JPEGs. These will be copied to your User Directory.
An alternative way to "Import Photos" is to drag your photos into:
ButterflyNet Data\Users\<youruserid>\Photos.
Once again... the current version requires a
click of the Refresh button. =) We'll fix this soon.
We are currently updating BNet with support for multiple
media types, like audio and video and documents.
We are also adding more flexible support for changing
the search window of the context panel.
Feel free to explore and send us your feedback and suggestions!